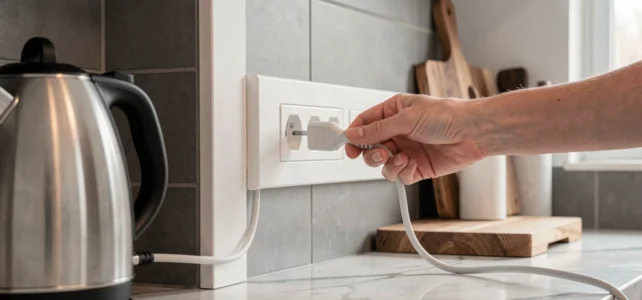
A trunking with integrated sockets is a visible profile, usually made of aluminum or PVC, fixed to the wall above the countertop, which combines the passage of electrical cables and the direct installation of power outlets. In the kitchen, this device allows powering everyday appliances without drilling the backsplash or cutting into the wall.
Specialized circuits in the kitchen: what the trunking must not mix
Before choosing a model, it is essential to understand a constraint often overlooked in buying guides: the kitchen requires distinct specialized electrical circuits. A cooktop, a built-in oven, or a dishwasher each require a dedicated circuit with its own circuit breaker in the panel.
A trunking with integrated sockets serves the so-called “service” appliances (coffee maker, toaster, mixer). These sockets should not be connected to the same circuit as a high-power appliance. In renovations, newly created or significantly modified areas must comply with the current version of the NF C 15-100 standard, even if the rest of the existing installation is not updated.
Specifically, if the trunking adds four sockets above the countertop, they fall under a “power socket” circuit protected by an appropriate circuit breaker, separate from the circuit of the oven or cooktop. Installing a trunking for a modern kitchen therefore requires checking the capacity of the electrical panel before any purchase.
Installation height of a kitchen trunking: the 8 cm constraint
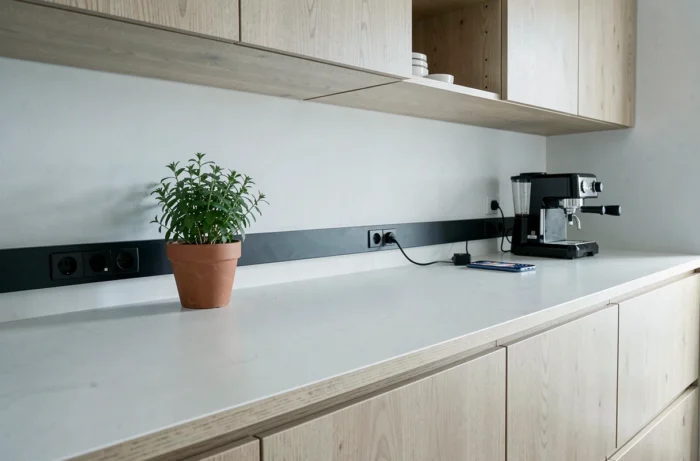
The installation height determines both ergonomics and compliance. Recent sources converge on a positioning reference of around 8 cm above the countertop for service sockets in the kitchen. This positioning places the sockets within reach while keeping them out of direct water projections.
A regulatory exception concerns the extractor hood. The socket dedicated to the hood must be placed at least 1.80 m above the floor. This is, in fact, the only socket allowed above the cooking area. For a horizontal trunking running along the backsplash, this means that no integrated socket can be directly above the cooktops, except for this high hood socket.
Prohibited zones and distances to respect
As in bathrooms (with less strict volumes), the kitchen prohibits sockets directly above the sink and cooktops. A trunking can cross these areas, provided that the socket modules are laterally offset.
In practice, positioning the trunking between the upper cabinets and the countertop remains the most common configuration. This free strip, generally between the backsplash and the bottom of the wall units, offers a natural space for a discreet profile.
Material and finish of trunking: aluminum, PVC, or stainless steel
The choice of material is not just aesthetic. In the kitchen, the trunking endures grease splashes, steam, and frequent cleaning.
- Anodized aluminum withstands moisture well and is easy to clean. Its brushed or satin finish integrates into contemporary kitchens without yellowing over time.
- PVC is cheaper, but its surface can dull with repeated contact with degreasing products. It is more suitable for a temporary installation or a secondary kitchen.
- Stainless steel, rarer in standard trunking, offers the best durability against splashes but requires a significantly higher budget.
Aluminum remains the best compromise between durability and cost for a kitchen used daily. PVC is justified if the trunking is hidden behind appliances and not exposed much.
Number of sockets and modularity: sizing without oversizing
A modular trunking allows adding or removing socket blocks according to needs. This is its main advantage over a traditional recessed socket, which fixes the installation.
To estimate the number of useful sockets, it is necessary to list the appliances that are permanently plugged in (kettle, coffee machine) and those used occasionally (blender, connected scale). Three to five service sockets are sufficient in most kitchens, provided they are distributed along the length of the countertop rather than grouped in one spot.
Separation of high and low currents
Some trunkings offer separate compartments for electrical cables and network or USB cables. In a connected kitchen (recipe tablet, speaker), this separation avoids interference and adheres to good wiring practices. Ensure that the chosen profile has at least two compartments if you plan to run an Ethernet cable or a USB power supply in parallel.
Installation errors that compromise safety and aesthetics
The trunking seems simple to install, but a few errors frequently occur.
- Connecting the trunking sockets to the circuit of the oven or cooktop, instead of a dedicated circuit. The circuit breaker may trip as soon as a high-demand appliance operates simultaneously with the oven.
- Installing the trunking too close to the cooking area by integrating sockets, which violates the rules for distancing from hot points.
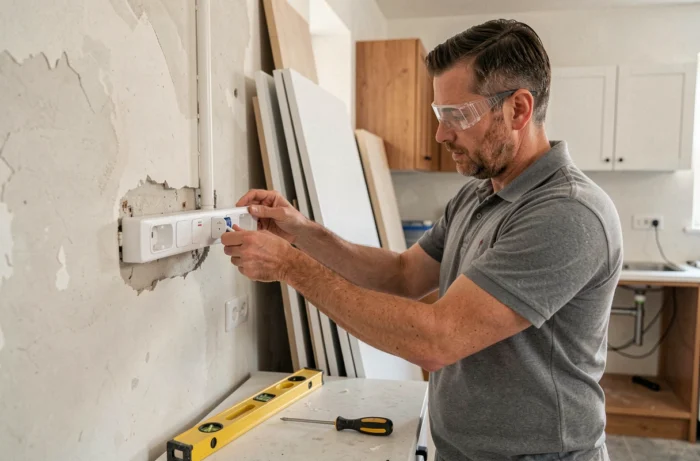
- Neglecting wall fixation: an aluminum trunking loaded with cables and socket blocks is heavy enough to pull out inappropriate anchors, especially on wall tiles.
- Forgetting the junction box upstream of the trunking, making any subsequent intervention complex.
On a tiled surface, specific anchors (like expansion anchors for hard materials) ensure reliable long-term hold. Drilling to the exact diameter prevents breaking the tile.
The last point to anticipate is scalability. A kitchen is typically reorganized every ten to fifteen years. Choosing a clip-on trunking rather than a glued one allows moving or extending the installation without damaging the wall, a detail that makes a difference during future renovations.